Video Editor & Export
PatchWork has a built-in video editor for stitching generated clips into a final MP4. It's not a replacement for CapCut or Premiere, but for short-form pipeline work it covers the full last-mile: timeline assembly, silence trimming, voice changing, auto-captioning, and export.
Where it lives
Open PatchWork → left sidebar → CREATE → Video Editor. The Video Editor has its own project list (separate from your generation Projects). Create a new editor project to land on the canvas below.
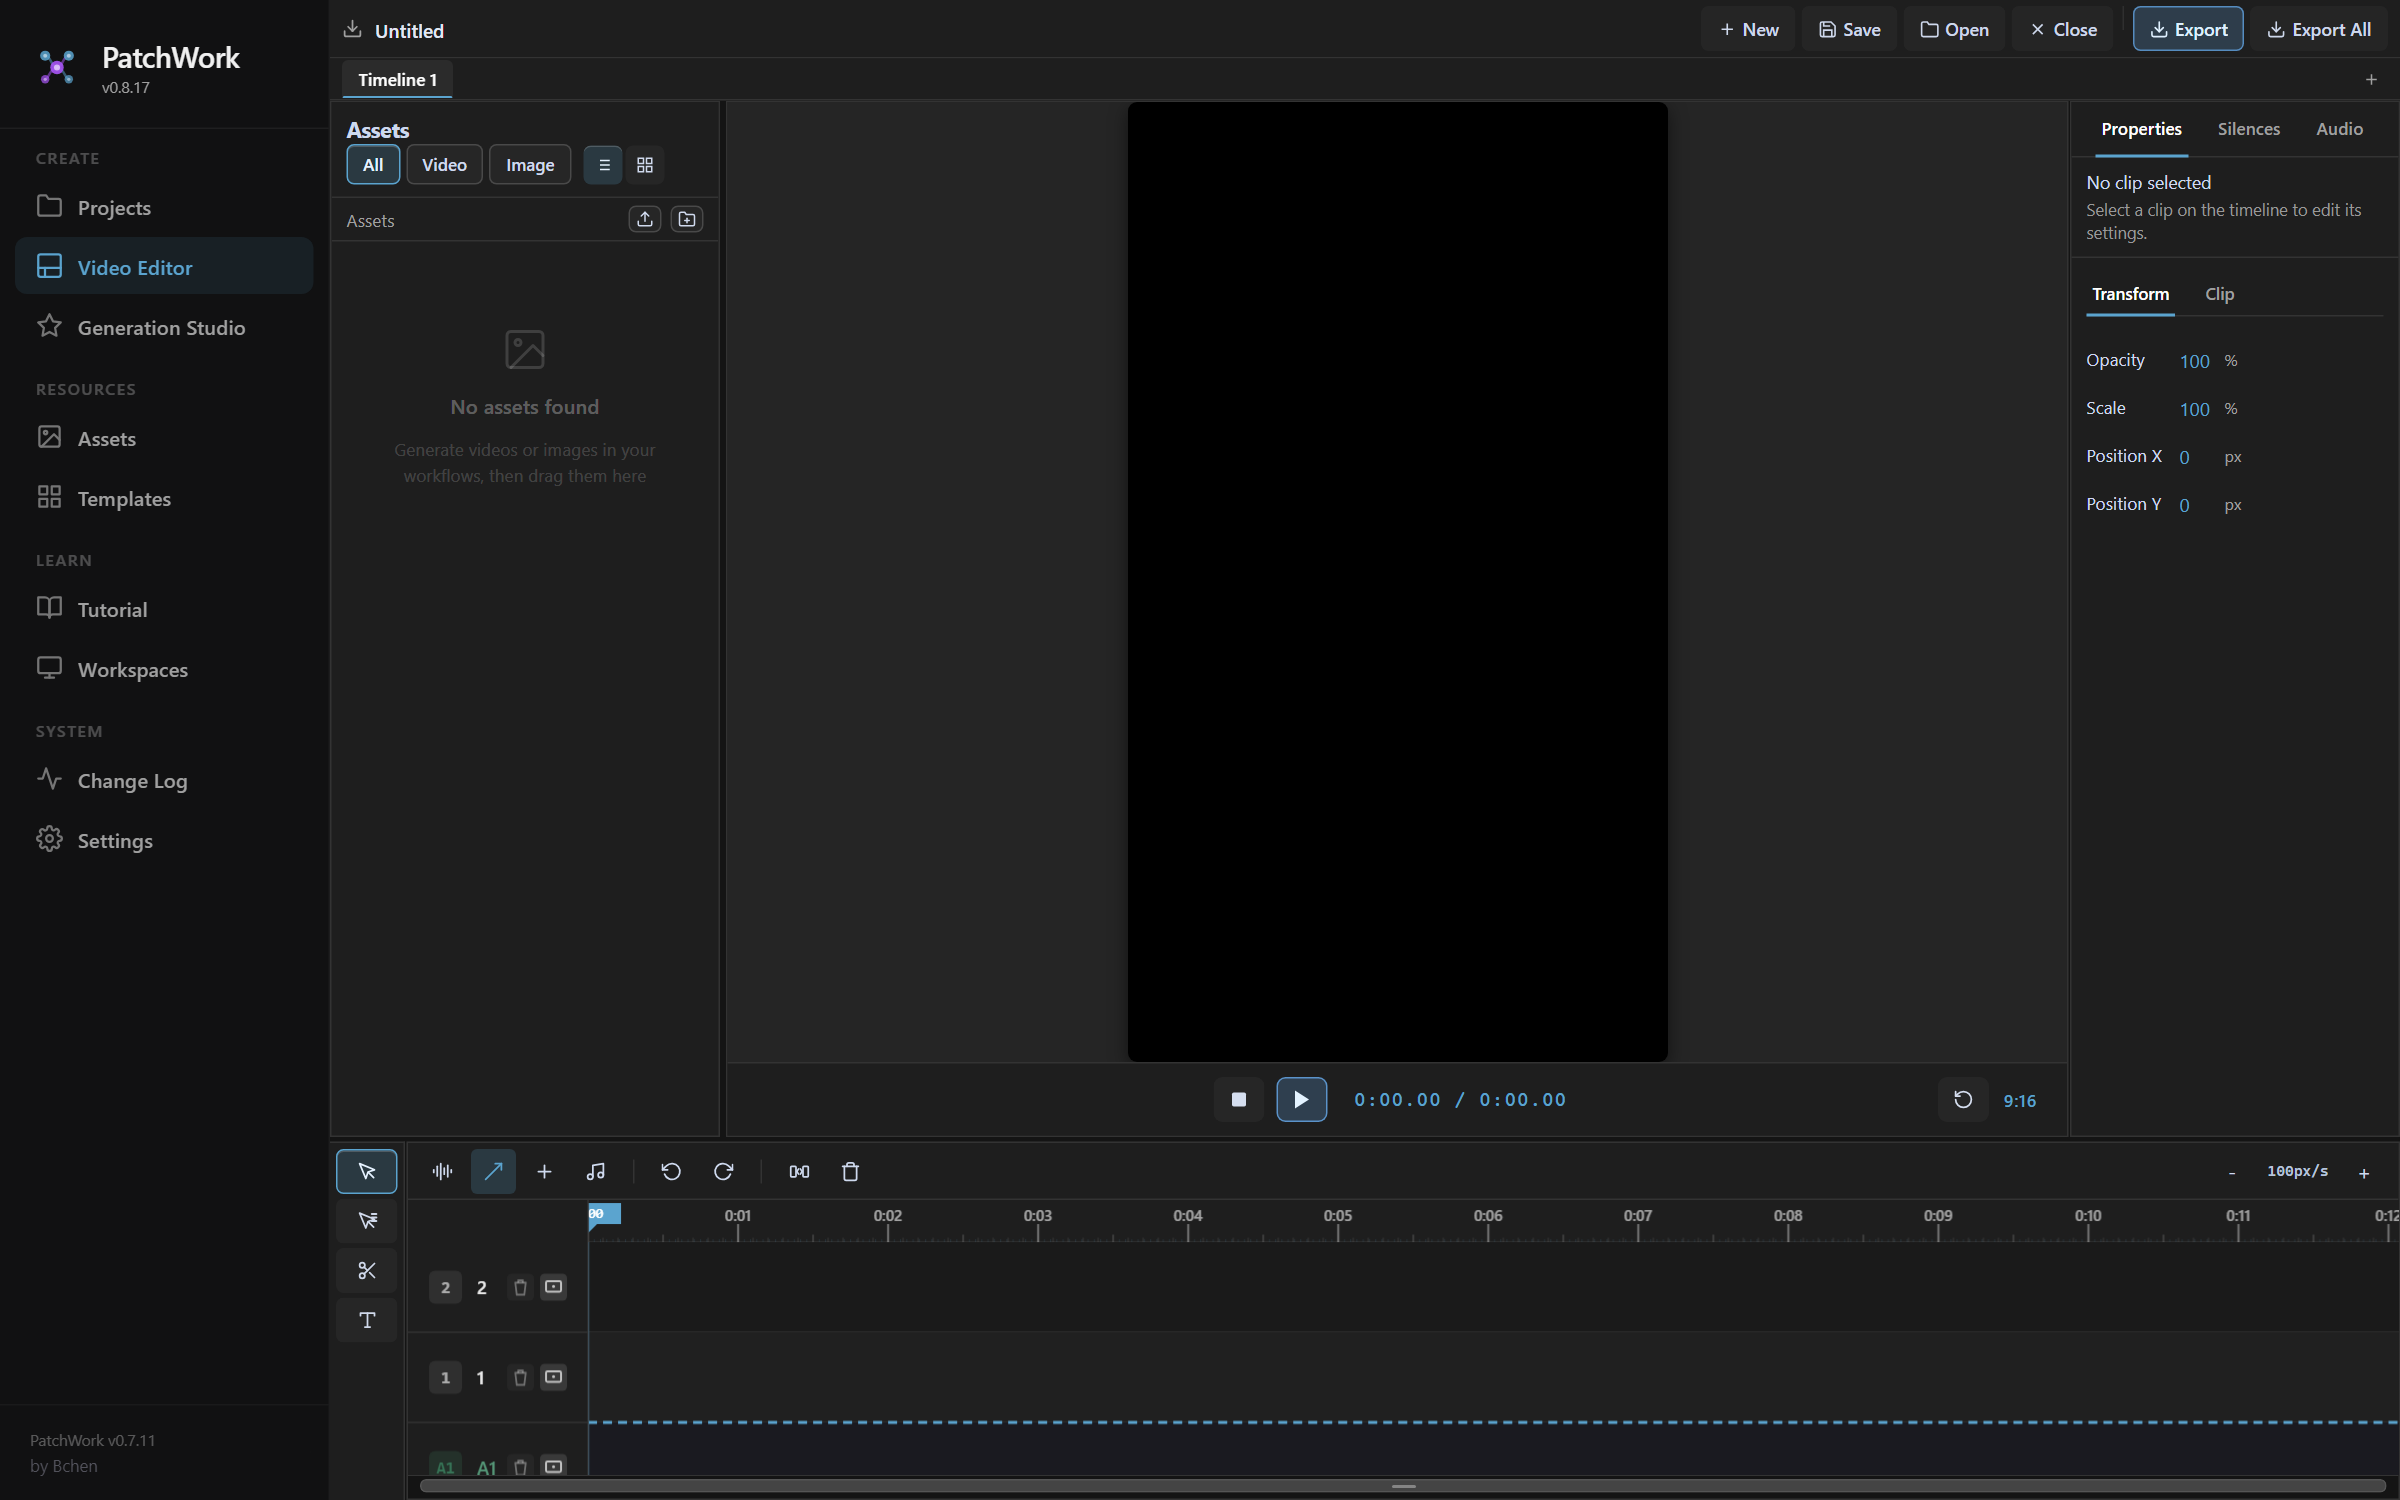
- **Project name** — click to rename. Determines the default export filename.
- **File toolbar** — New, Save, Open, Close, **Export**, **Export All**. Export saves the current timeline; Export All saves every timeline in the project.
- **Timeline tabs** — `Timeline 1`, `Timeline 2`, ... Each timeline exports to its own file. Tabs let you keep multiple cuts (different lengths, different platforms) in one project.
- **Assets panel** — drag generated clips and images here. Filter by `All` / `Video` / `Image`.
- **Preview** — 9:16 by default; aspect ratio configurable per timeline.
- **Properties panel** — sub-tabs: `Properties` (transform/scale/position on a selected clip), `Silences`, `Audio`, `Captions`.
- **Timeline tracks** — multiple tracks per timeline. Track 1 is typically the speaking-scene audio + video; later tracks hold B-roll overlays, captions, etc.
The rest of this page walks each of the editor's main features in order: timeline tabs, silences, audio + voice changing, captions, and export.
Timeline tabs — multiple cuts per project
The tab row above the timeline lets a single project hold multiple independent timelines. A + next to the current tab adds another timeline; you can rename each tab.
Why you'd want more than one timeline:
- Different durations — a 15s cut and a 30s cut from the same clips
- Per-platform versions — TikTok vs. Reels (different aspect ratio or AI Label Trick variant)
- A/B variants — same clips with different caption styles or pacing
Each timeline is its own export. The export filename is built from the timeline name — so renaming Timeline 1 to tiktok-15s produces an export named tiktok-15s.mp4 (see Export and file naming below).
Silences — auto-detect and remove dead audio
The Silences tab on the Properties panel scans your timeline's audio for stretches that fall below a configurable threshold, then lets you remove them in one pass.
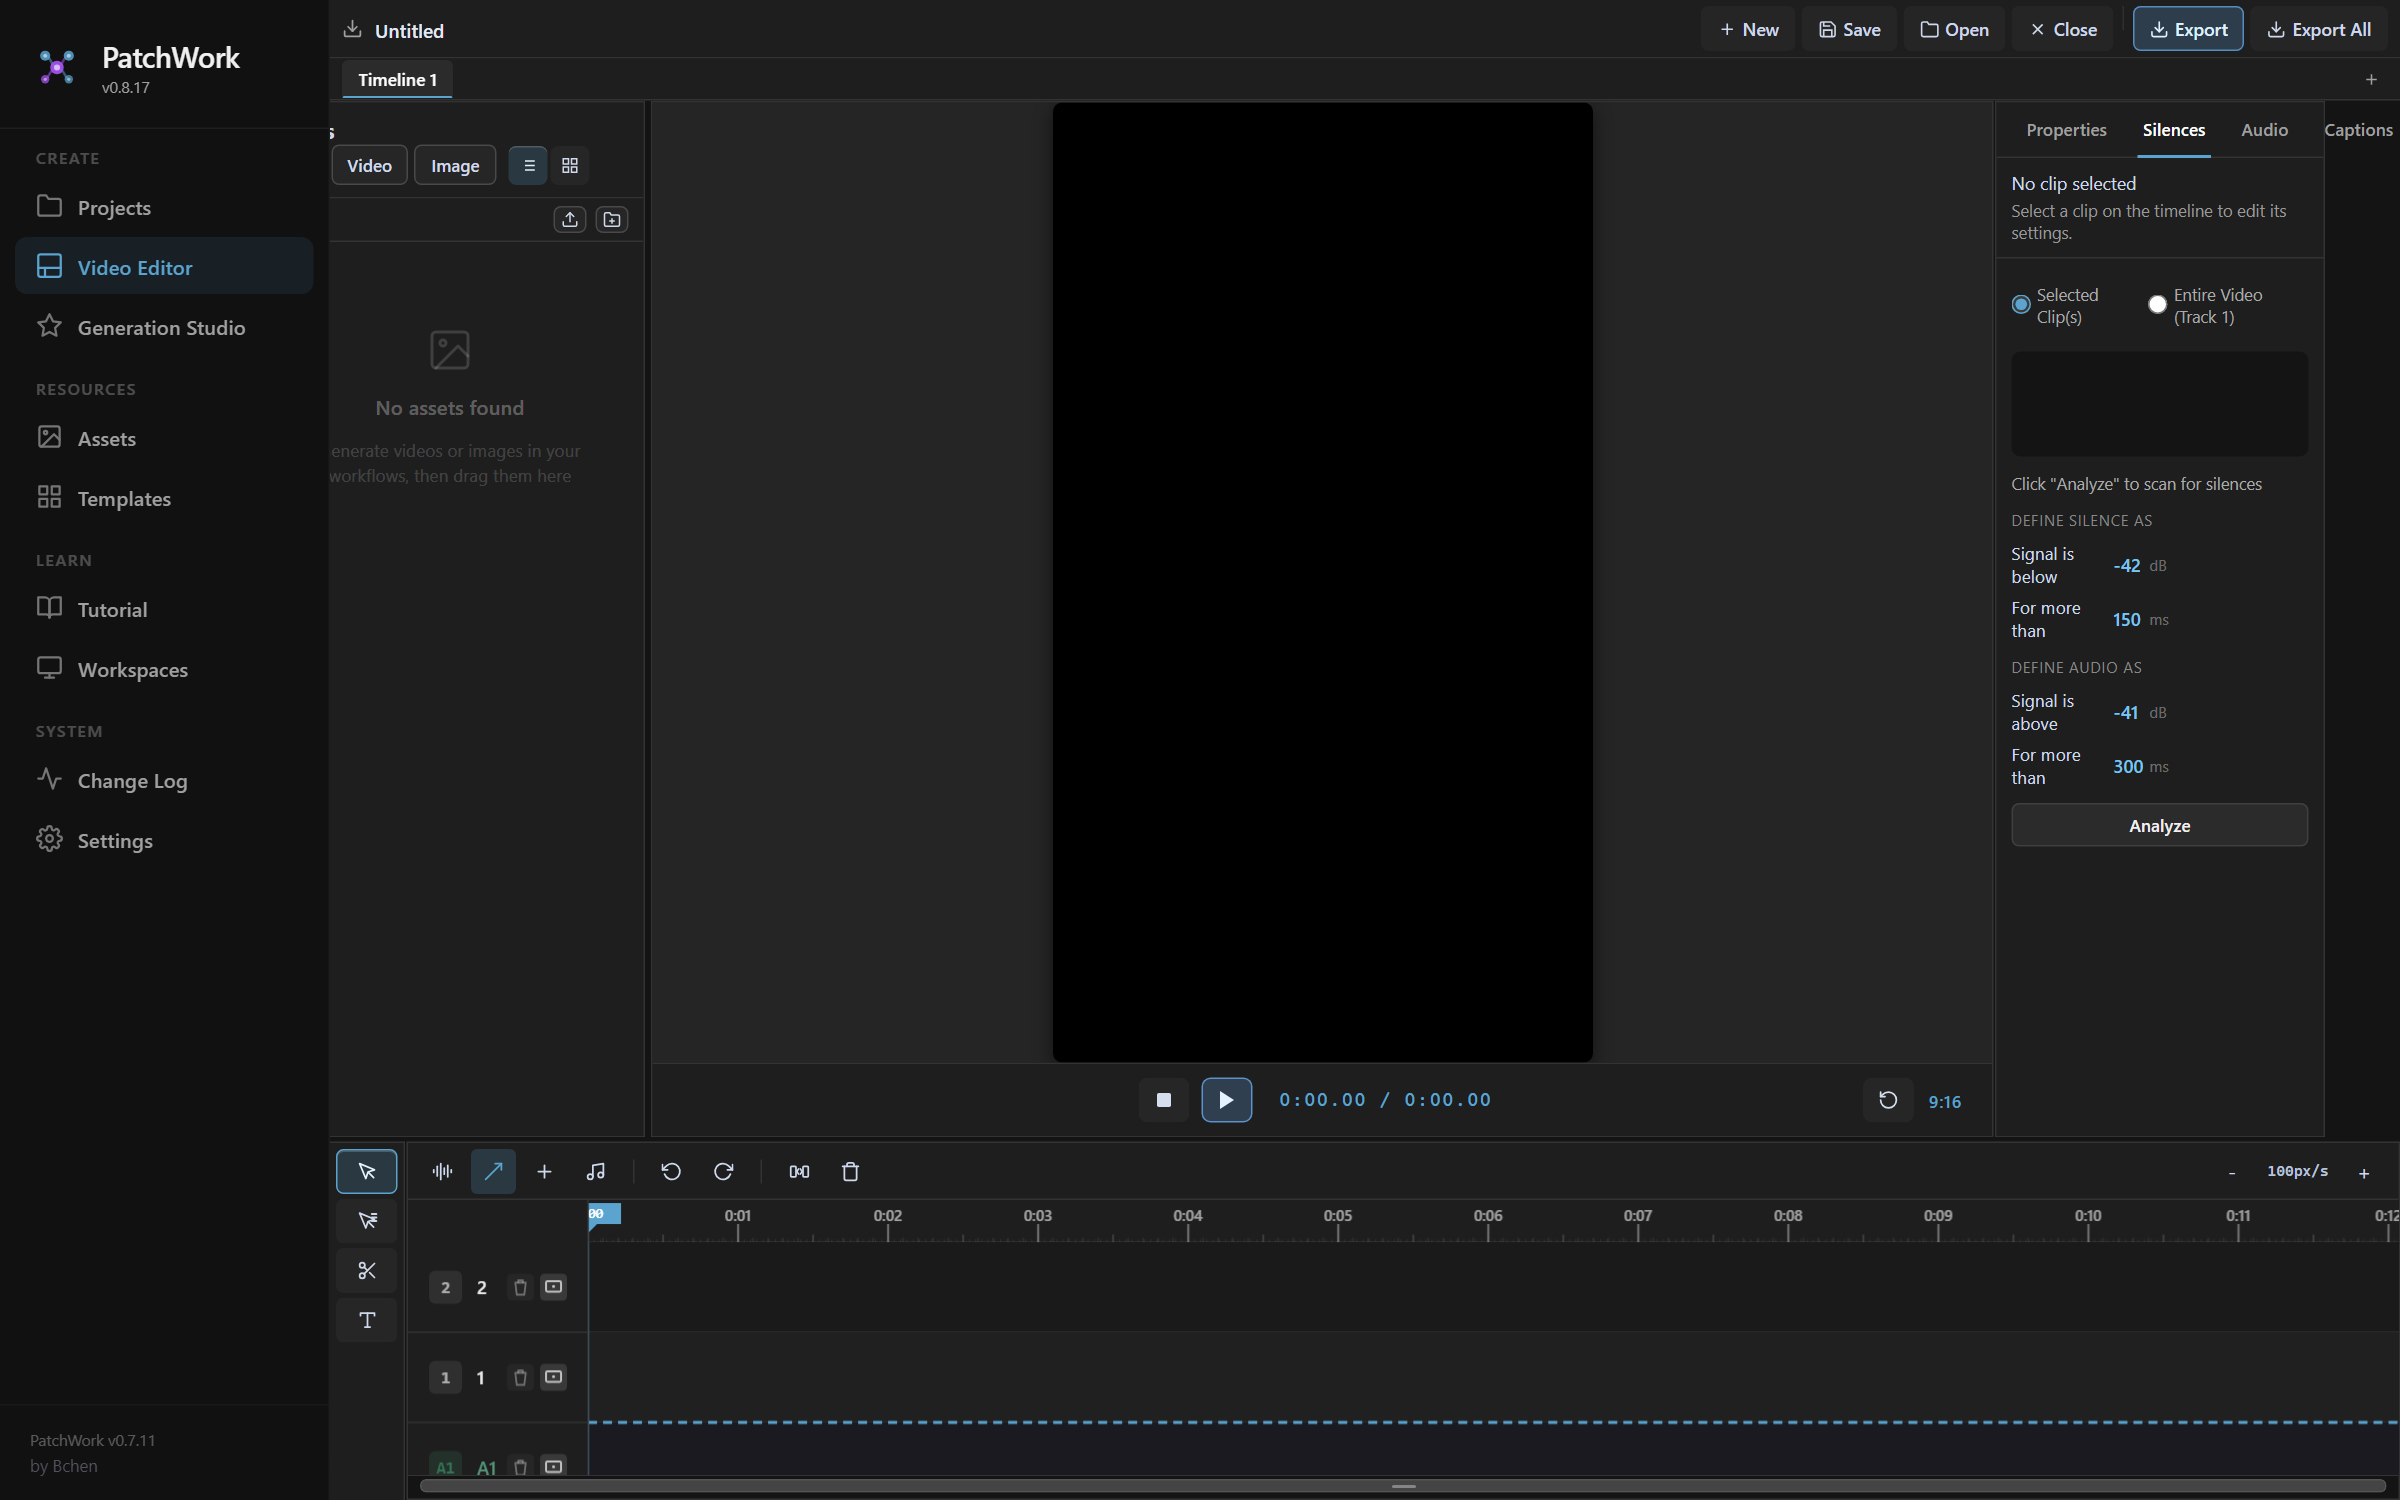
- **Scope** — `Selected Clip(s)` or `Entire Video (Track 1)`. Most of the time you want Entire Video.
- **Define silence** — signal below `-42 dB` for more than `150 ms`. Both values are editable.
- **Define audio** — signal above `-41 dB` for more than `300 ms`. The 1 dB gap between silence-ceiling and audio-floor avoids flicker around the boundary.
- **Defaults work for most pipeline workflows.** Avatar voiceovers from Veo have consistent loudness; the defaults catch the natural pauses between sentences without trimming the breaths.
- **Analyze** — scans the timeline and highlights the detected silence ranges. You then approve or refine before they're deleted from the timeline.
When to bump the thresholds:
- Long natural pauses you want to keep (storytelling beat, comedic timing) — raise the silence minimum from 150 ms to 400-500 ms
- Mic noise above -42 dB (room hum, fan noise) — raise the silence ceiling from -42 dB to -38 dB
- Whispered or breathy delivery — raise the audio floor or you'll over-trim
Audio — enhancement + voice changer
The Audio tab has two features stacked: clip enhancement and voice changing.
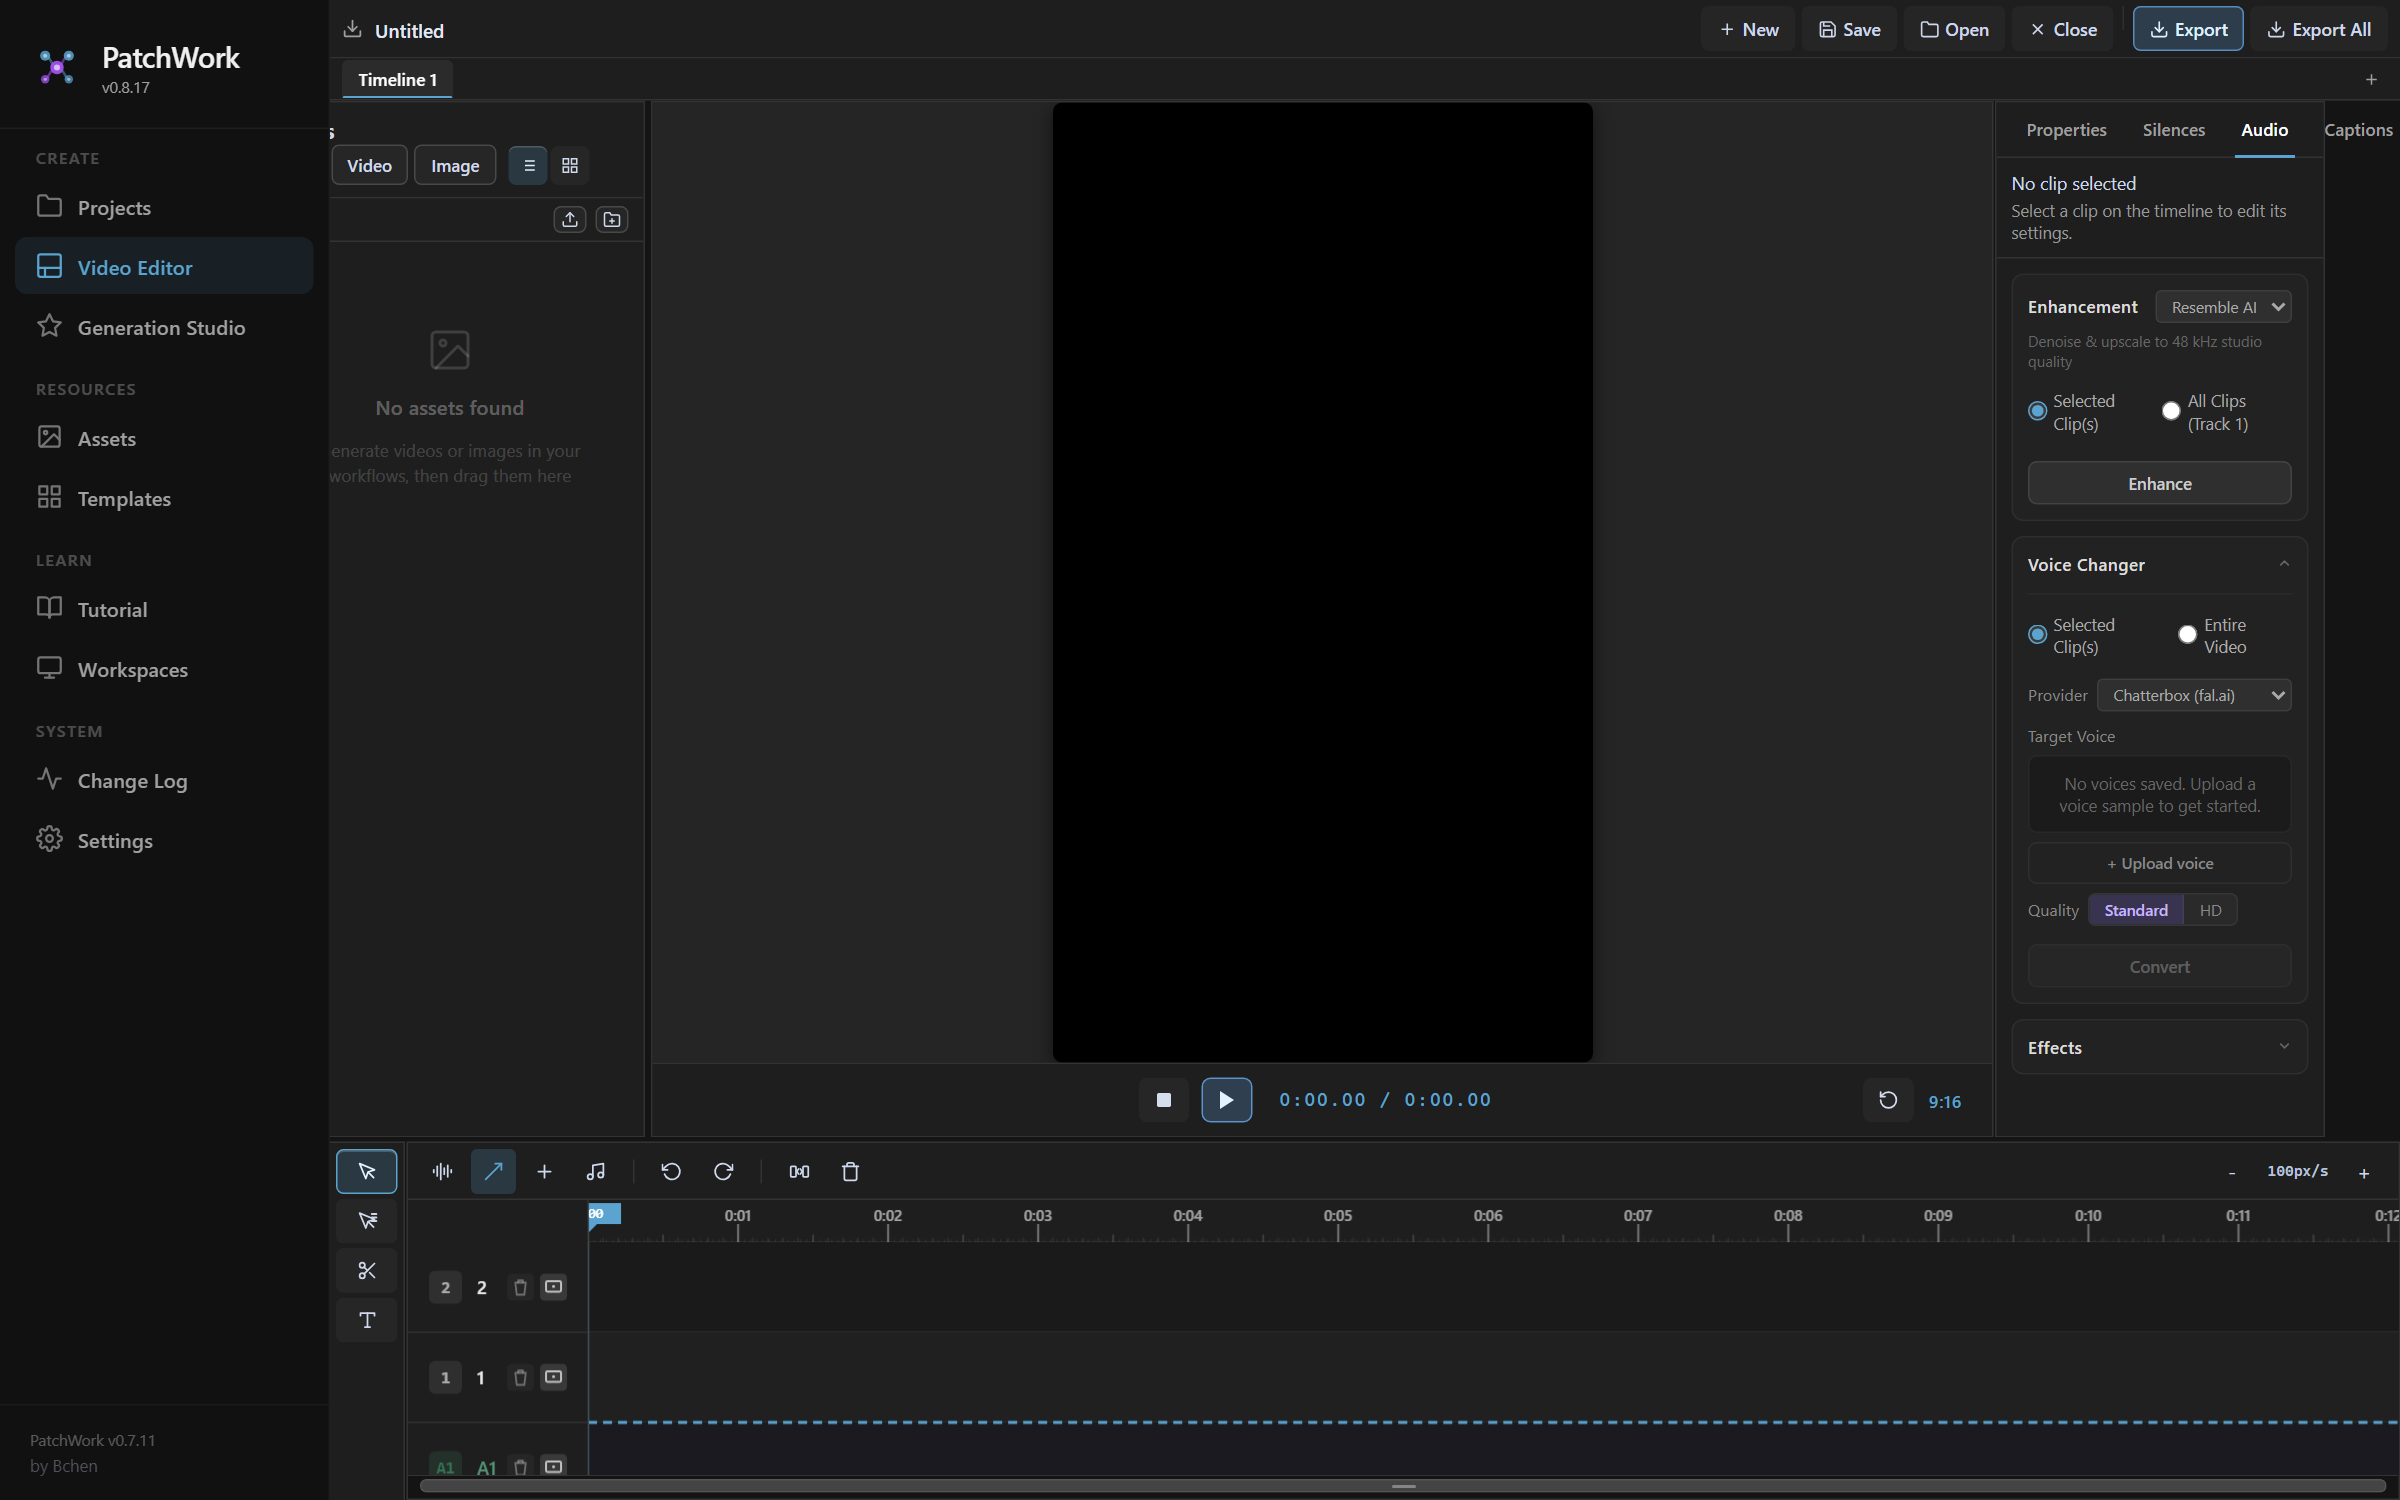
- **Enhancement** — Resemble AI Nova SR. Denoises + upscales to 48 kHz studio quality. Useful when avatar VO sounds thin or has background hiss.
- **Enhancement scope** — `Selected Clip(s)` or `All Clips (Track 1)`. **Enhance** runs the pass.
- **Voice Changer scope** — `Selected Clip(s)` or `Entire Video`. Voice Changer replaces the original voice with a target voice while preserving timing + intonation.
- **Provider** — `Chatterbox (fal.ai)` or `ElevenLabs`. Pick based on availability of the target voice + cost.
- **Target Voice** — dropdown of voices you've uploaded. Use **+ Upload voice** to add a new voice sample (one short clip of the target speaker; the provider clones from there).
- **Quality** — `Standard` or `HD`. HD costs more and takes longer; use for shipping content, Standard for tests.
- **Convert** — runs the voice replacement. The original audio is preserved; the converted track replaces it on the timeline.
When to use Voice Changer:
- Avatar voice doesn't match the persona — too young / too old / wrong gender for the archetype
- Cloning a real person's voice for client-branded content (with their consent + a voice sample)
- Consistency across accounts — same target voice across multiple avatars' workflows for a unified brand sound
When NOT to use it:
- Veo's voice already sounds right — every Voice Changer pass is a cost + a quality risk
- You haven't validated the target voice — upload, test on one short clip, then commit to the whole video
- The avatar's lip-sync matters — voice swaps don't re-sync mouth movement; if lip-sync is critical, regenerate the video with a different Veo voice instead
Captions — auto-transcribe and style
The Captions tab handles auto-transcription, manual transcript editing, style selection, and export.
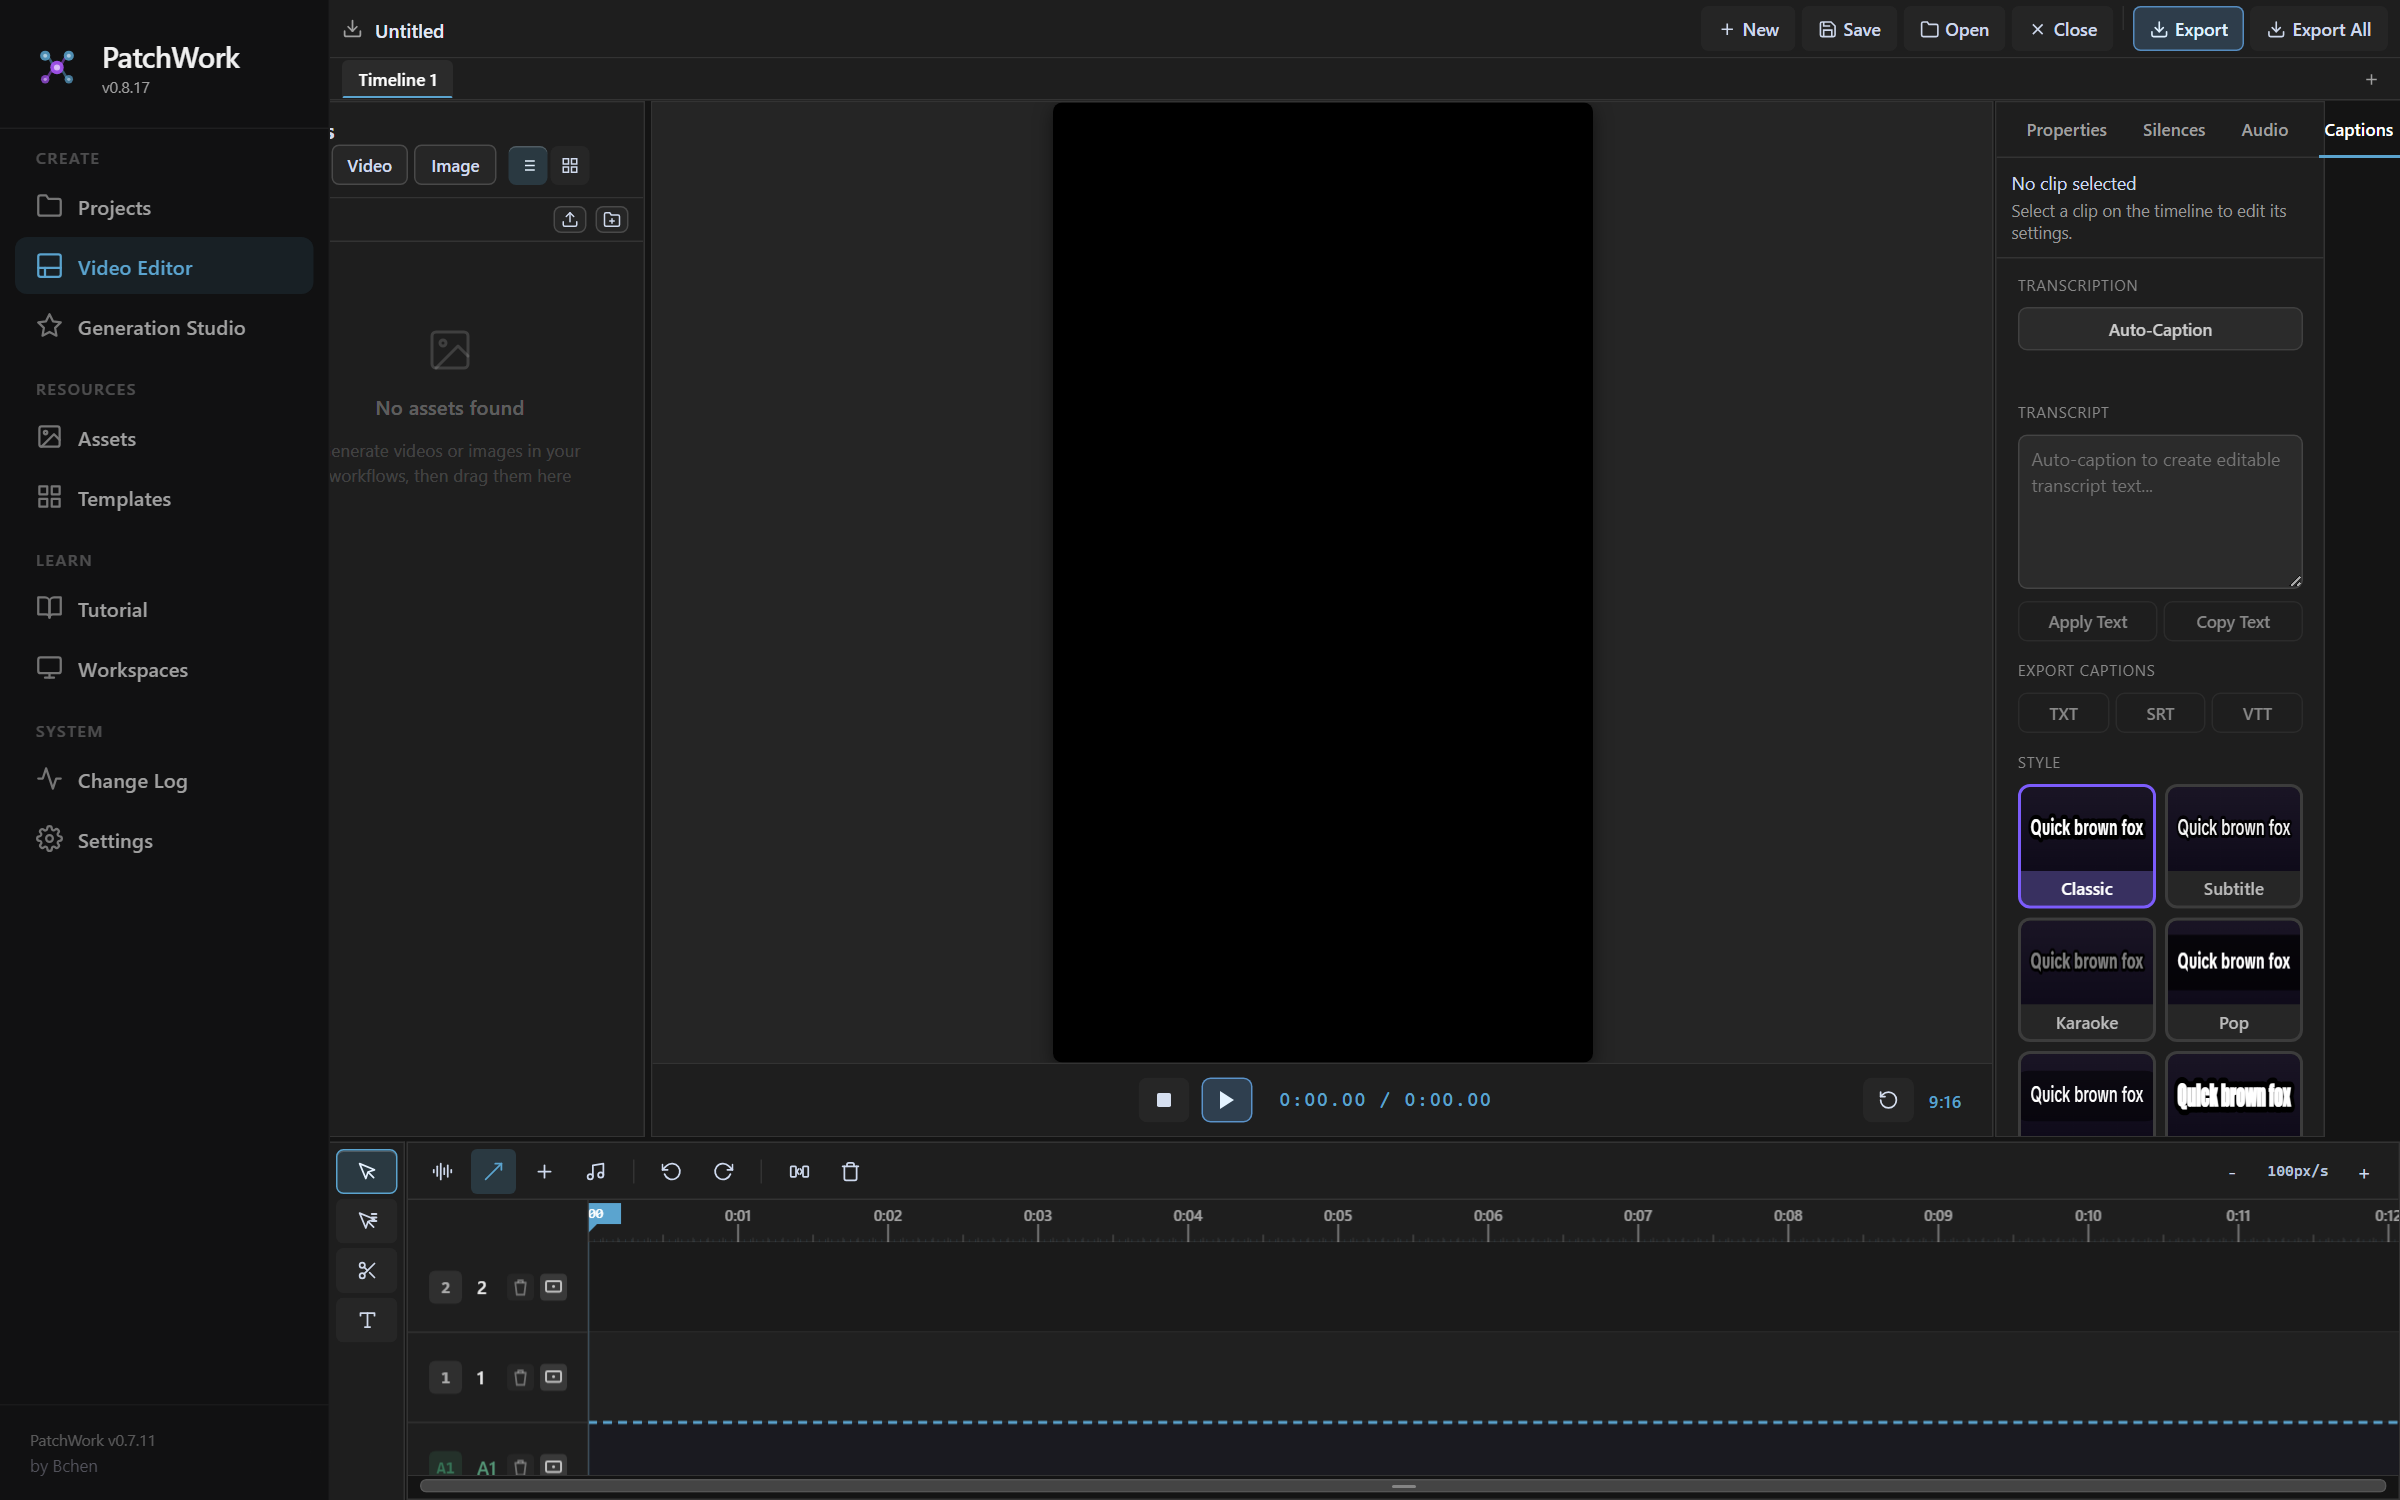
- **TRANSCRIPTION → Auto-Caption** — runs speech-to-text against the timeline audio. Produces word-level timestamps so captions sync to delivery, not just sentence boundaries.
- **TRANSCRIPT → Apply Text / Copy Text** — edit the auto-generated transcript by hand. **Apply Text** writes your edits back to the captions. **Copy Text** copies the full transcript for use elsewhere.
- **EXPORT CAPTIONS → TXT / SRT / VTT** — export captions as a separate file. SRT and VTT are standard subtitle formats for platforms that accept uploaded caption files (YouTube, etc.).
- **STYLE** — 10 preset caption styles: Classic, Subtitle, Karaoke, Pop, Minimal, Impact, Typewriter, Block, Neon, Slide Up. Pick based on platform + tone.
- **BACKGROUND / POSITION / WORDS PER LINE** (scroll down) — toggle caption background fill, set padding + corner radius, place top/center/bottom, set words-per-line cap (default 5).
Style picker — quick mental map:
| Style | Best for |
|---|---|
| Classic / Subtitle | Restrained, broadcast-style. Good for educational / clinical content. |
| Karaoke | Highlighted word reads as it's spoken. High engagement for hooks. |
| Pop / Impact | Bold, big, attention-grabbing. TikTok / Reels native. |
| Minimal | Tight, low-distraction. Good for premium / aesthetic content. |
| Typewriter | Builds character-by-character. Storytelling / confessional. |
| Block | Solid background block per caption. Maximum readability against busy footage. |
| Neon | Outlined glow text. Late-night / energetic tones. |
| Slide Up | Animated reveal from below. Modern punch. |
Default for the pipeline's pop-style sales videos: Pop or Impact. For storytelling / confessional: Typewriter or Minimal.
Workflow for captions on a Veo-generated voiceover:
- Click Auto-Caption — the editor transcribes with word-level timing
- Spot-check the transcript — names, brand-specific terms, numbers often need manual fixes (Apply Text after editing)
- Pick a STYLE
- Set POSITION (usually bottom-third for short-form vertical)
- Cap WORDS PER LINE at 4-5 so lines don't wrap awkwardly
- (Optional) Export as
.srtif the destination platform wants an uploaded caption file
Export and file naming
The Export buttons in the file toolbar produce MP4 files. Two flavours:
| Button | What it does |
|---|---|
| Export | Renders the currently selected timeline to one MP4. |
| Export All | Renders every timeline in the project, one MP4 per timeline. Empty timelines are skipped. |
The exported file's name comes from the Timeline name, not the project name. So:
Project: "salvora-en1-rhodiola-V2-1"
  Timeline 1: renamed to "tiktok-15s"  →  exports as  tiktok-15s.mp4
  Timeline 2: renamed to "reels-30s"   →  exports as  reels-30s.mp4
  Timeline 3: empty                    →  skipped
Rename your timelines BEFORE you export. Untouched timeline tabs export as Timeline 1.mp4, Timeline 2.mp4, etc. — usable but not meaningful when you have 20 cuts across your project library.
Status toasts at the bottom of the editor confirm what was exported and what was skipped:
Output format:
- Resolution — matches the preview aspect ratio (9:16 → 1080×1920 for short-form, 16:9 → 1920×1080)
- Codec — H.264 MP4
- Audio — included (voiceover + any voice-changed track + caption-baked-in if captions are visible at export time)
Files land in your local downloads folder by default.
The AI Label Trick — TikTok Shop content
For AI-generated content posted via TikTok Shop, add a 0.01-second flash of a dark frame (or an obviously AI-generated face) at the very end of the timeline. This triggers TikTok's "AI generated" platform label, which avoids content-violation flags for synthetic media.
How:
- Add a black image or a generic AI-rendered face as an asset
- Drop it on the timeline at the very end
- Trim its duration to 0.01 seconds (just below 1 frame at 30fps — it flashes for one frame max)
- Export
The flash is invisible to viewers at scroll speed but registers in TikTok's detection passes. Skip this for Amazon-keyword and Meta-Shop content — those channels don't penalize AI content the same way.
When PatchWork's editor isn't enough
| You want | Use external editor |
|---|---|
| Advanced color grading per scene | CapCut / Premiere / DaVinci |
| Complex multi-track audio mixing | DaVinci / Premiere |
| Motion graphics, animated overlays, custom transitions | After Effects / Premiere |
| Long-form content (>90 seconds) | DaVinci / Premiere |
| Team workflow already on a different editor | Whatever the team uses |
PatchWork's editor is purpose-built for short-form AI-generated content. For anything more elaborate, external tools win on flexibility — but you lose the integration with workflow outputs and the AI Label Trick template.
When you're ready
→ Next: Chapter 5 — Quality, Testing & Prompt Tuning. Now that you can drive PatchWork's creative tools end-to-end, learn how to judge a generation and when to reach for the prompt-tuning skill.