G-Labs Setup
The Generation Runner and the PatchWork web app both need a G-Labs backend running. G-Labs is the local service that proxies generation API calls to NanoBanana 2 and Veo 3.1. This page walks through getting it running on your machine.
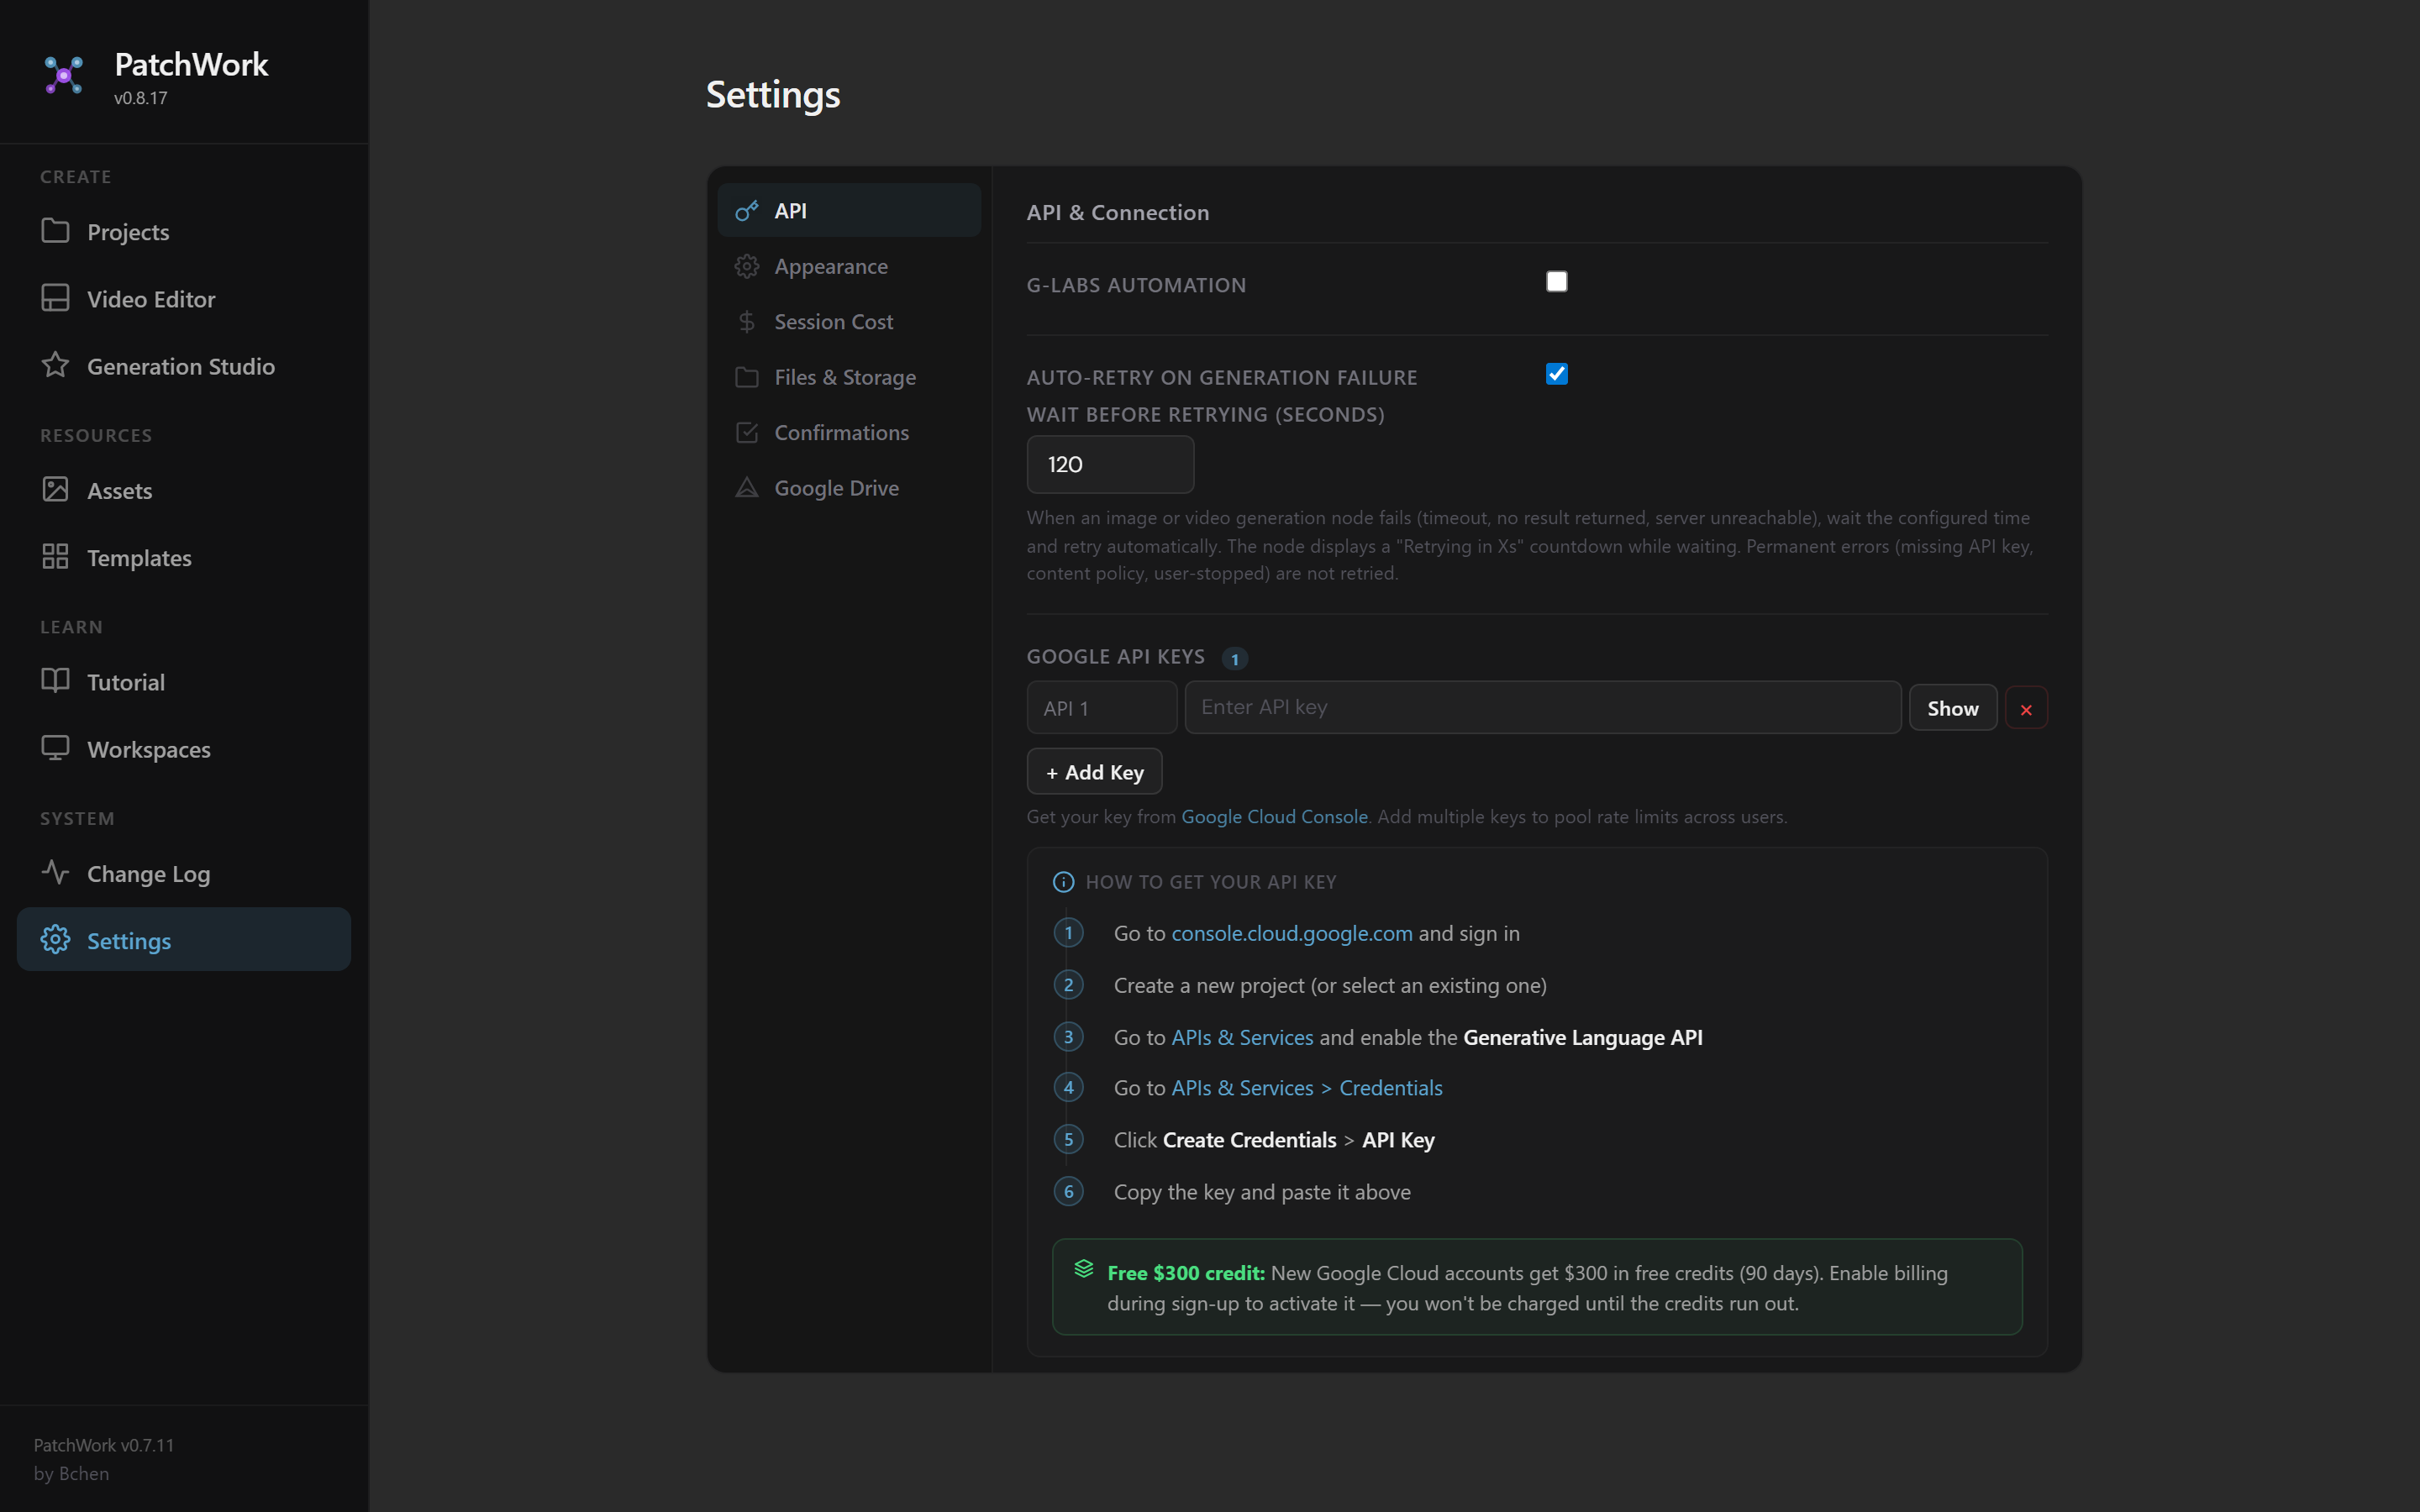
PatchWork's Settings panel. Where the G-Labs Server URL gets pasted (after you start the cloudflared tunnel) and where auto-retry behavior is configured.
The architecture
flowchart LR
    A[PatchWork Web App<br/>patchwork-33m.pages.dev] --> B[cloudflared tunnel<br/>public HTTPS URL]
    C[workflow-runner.js<br/>headless] --> B
    B --> D[G-Labs<br/>http://localhost:8765]
    D --> E[NanoBanana 2 API]
    D --> F[Veo 3.1 API]
G-Labs sits between PatchWork and the actual model APIs. It runs locally on http://localhost:8765. For PatchWork (which lives on a public domain) to reach it, you expose your local port through a cloudflared tunnel — covered in detail on its own page.
Quick start
Two services need to be running before any generation work:
- G-Labs on
http://localhost:8765(see "Installing G-Labs" below) - A cloudflared tunnel pointing at G-Labs (see Cloudflared Tunnel Setup)
The Manager auto-starts the tunnel for you when you trigger a generation pass. You still need G-Labs running yourself.
Installing G-Labs
(One-time setup. Skip if G-Labs is already installed.)
G-Labs is internal tooling — installation instructions are kept in the internal docs separate from this wiki. Once installed, you start it the same way every session:
- Open a terminal in the G-Labs directory.
- Run the start command (typically
npm startor similar — see the G-Labs README). - Confirm it's serving on
http://localhost:8765by hitting http://localhost:8765/health in a browser. You should see a 200 OK response.
Connecting PatchWork to G-Labs
PatchWork can't talk to http://localhost:8765 directly. You point it at the tunnel URL instead:
- Open PatchWork → Settings (left sidebar → SYSTEM → Settings).
- In the API section, paste your tunnel URL into G-Labs Server URL.
- Save.
The URL gets cached in your browser's local storage. With a quick tunnel you'll update this every session (since the URL changes); with a named tunnel you set it once and forget it. See Cloudflared Tunnel Setup for the two approaches.
Connecting the headless Generation Runner
The Generation Runner takes the tunnel URL as a CLI flag:
node workflow-runner.js workflow.nbflow \
  --server "https://your-tunnel-url" \
  --api-key "..." \
  --concurrency 3
The Manager invokes the runner with the current tunnel URL automatically — you don't pass this by hand in normal operation.
Common issues
"Connection refused" from the runner or PatchWork- G-Labs isn't running on
localhost:8765, or it crashed. Hit http://localhost:8765/health in a browser — if that fails, restart G-Labs. "522 Connection timed out" or "1033 error" from cloudflared- The tunnel is up but G-Labs isn't responding on the target port. Same diagnosis as above — check G-Labs is running.
"API key invalid" from generations- The
--api-keyvalue the runner has doesn't match what G-Labs expects. Double-check the key is current. (API key is separate from the tunnel URL — the tunnel URL changes per session for quick tunnels; the API key stays the same until rotated.) PatchWork shows "no backend configured"- You haven't set the G-Labs server URL in PatchWork's settings, or you set the wrong URL. Open settings, paste the current tunnel URL, save.
For tunnel-specific failures (tunnel won't start, named tunnel returns 502, DNS not resolving), see Common issues on the Cloudflared Tunnel Setup page.
Session checklist
Every session before running a workflow:
- Start G-Labs (port 8765). Confirm health endpoint returns 200.
- Start a tunnel (quick or named). Copy or confirm the URL.
- If using the headless runner: pass the URL as
--server. - If using PatchWork web app: paste the URL into settings (only if it changed since last session).
- Run the workflow.
When you're ready
→ Next: Cloudflared Tunnel Setup — the dedicated page for setting up the tunnel itself, covering both the quick-tunnel and named-tunnel paths.